Showing posts with label talkin' turkey. Show all posts

Wednesday, June 26, 2024

UFO, WIP, Flimsy parade - time to get organized!

I decree that yesterday's new name shall be - "Tally Tuesday"
Also, when ya can't beat the heat to sew comfortably in the loft (since we frugal ol' fuddy-duddies haven't folded to turn on the AC yet), t'was time to ORGANIZE all the bins and shelves and 'chair piles' downstairs in the basement quilting space. Don’t get me wrong! I like the heat 🤗 but this task needed to get done all the same.
I haven't truly been in full-blown 'quilter-mode' since probably 2013/14, as my faithful followers of year's gone by can attest to; life simply got busy with the girls growing up 🥰. However, with a couple recent quilt-top finishes this week that had been in almost-finished stages, I really wanted to get a gauge of the status of all the other "things" down there. Ya know... to make plans and goals! 😉
👇👇The parade of current UFOs (unfinished objects), WIPs (works in progress) and FLIMSIES (quilt top ready for quilting), plus a few HMIDs (holy moly, it's done) quilts.
[[alright, I made up that last acronym]] 😜

FIrst up, the Flimsies...

Omigosh flimsy - 73"x 92"
Designer: Susan Garman


Omigosh perspective

Friday, June 19, 2020

Talkin' Turkey centers and Strawberry patch chatter

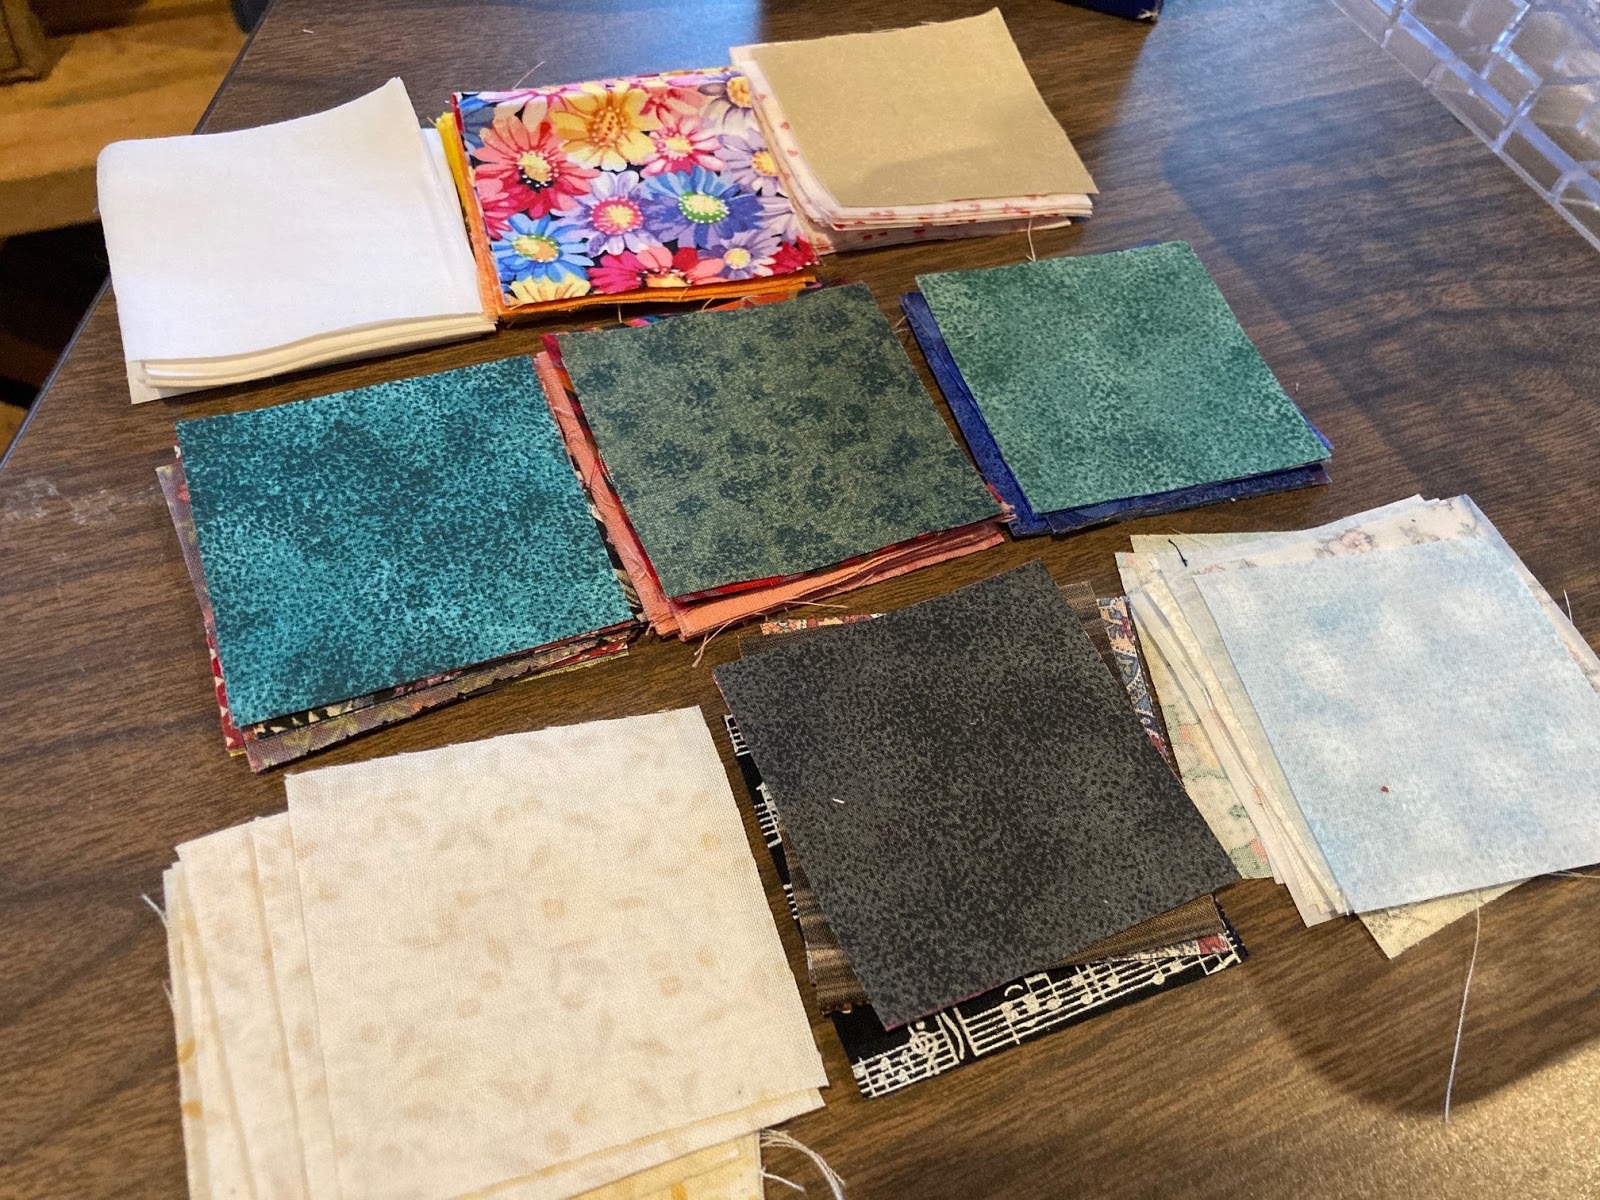
It's not much to look at, but once the morning jobs were complete, a couple of hours this afternoon were spent in the sewing area tidying up some scraps and cutting the centers for the final 15 Talkin' Turkey blocks.  It was certainly a putzy job between taming the scraps and cutting because the size of the squares isn't the typical Bonnie "nice."  2 5/8"... yuck.

The morning was beautiful!  72 degrees and breezy, low humidity -- PERFECT for any outside work.  The strawberry patch was tilled under at the end of the last year's growing season, but not before transplanting the young 'daughter' plants shooting every which way. 
And we DOWN-SIZED!  I finally understand why most gardeners only keep their patches for two years (or 3 years max) before replanting.  Our strawberry saga began in 2012 (The planting post) with 18 plants.  18!  It IS kinda cool to think that our patches over the years started with one simple 'whim' purchase of so few plants!  We've moved the patch only twice before, leaving it stay at its new location 4 and 3 years, respectively.  Too long!  Our last patch (it was on year 3 last summer) was soooooo overgrown with all the new plants; our berries were so small.  But year two produced AMAZING fruit, in abundance! So, my new process now will be one of two things.  Either a) keep the patch ONLY two years; meaning set up a new patch after next year's growing season, OR b) keep the patch for about 3 years BUT thin out (cut away) some of the spreading daughters.

Regardless, the patch this year is smaller (by design) and producing ample fruit for the needs of my family.  Two batches of jam were already made with Sunday's picking, and now each harvest will consist of processing some into 2-3 cup packages of smashed and slightly sugared mash for freezing after vac-sealing, OR simply placing the berries in 3-lb bags for wine batches (my recipe used for strawberry wine suggests 3 lbs/gal.) 

And all those strawberry tops end up being treats for the ladies.  We lost all of our chickens after last year's (2019) winter, and with the crazy-busy schedule we had with a graduating senior and two other girls VERY active in Spring and Summer sports, we never raised any new gals for the year.  However, shortly after the beginning of the Stay-at-Home orders this March, a local neighbor and I struck up a conversation while picking up eggs from her one day, and... a week later, 6 new ladies joined our property.  Since, we've also hatched out a incubator full of eggs, and we have eleven 2-month old chicks in the adjoining pen.  Sadly, we had more chicks, but a hungry owl obliterated half of our coop before we were finally able to SECURELY "owl-proof" the roof;  those are some smart birds!!!

The rest of the day consisted of the normal household chores;  cleaning up the kitchen and laundry.  The threatening dark skies finally rolled in at early evening; thankful that the storms lost energy and only provided the much needed rain rather than severe weather.  Kayaking posts are certain to come this summer as well seeing as we've already been on the lake and rivers a good half-dozen times already.

Ahh... summer!

Wednesday, May 27, 2020

Blowing off the dust

When Cassie came home early in March due to Covid closure restrictions at UWS, we elected to have her take over the quilting room seeing as her little sister claimed her bedroom in August when Cass left for school.  After all, I haven't really been quilting much in recent years due to life's hustle-n-bustle being the mom of three very active athletes. 
But, as the month of May progressed, and more and more time was opening up in my schedule from the stay-at-home orders, the itch started coming on to get back in front of my sewing machine.  So... an evening of cleaning and tidying commenced in the open-space of our basement.

Open Space - before
Open Space - after
With almost two (?) years having gone by since truuuuuly spending time sewing, organizing all of my WIPs and leaders-enders was amazingly relaxing. 

Firing up the iron to repress some of the OMIGOSH blocks...

 ... sewing on a few last strips for the yellow string blocks for Bonnie's Talkin' Turkey...

... hanging the simple tablecloth design wall in order to check the status of how many Talkin' Turkey blocks have already been sewn...

... and simply getting organized in my new makeshift sewing area was time well spent and enjoyed. 

Now, to keep tackling a little bit at a time WITHOUT starting anything new!  😂

Saturday, June 13, 2015

RSC and Talkin' Turkey scraps

In case you haven't noticed, it's summer vacation around this place!
What is this... my sixth post now in just a few days???  :D
My days have typically been starting around 5-6AM by CHOICE.  And, if you've been following, gardening a'plenty lately.

But today, I sewed!!  All. Day.
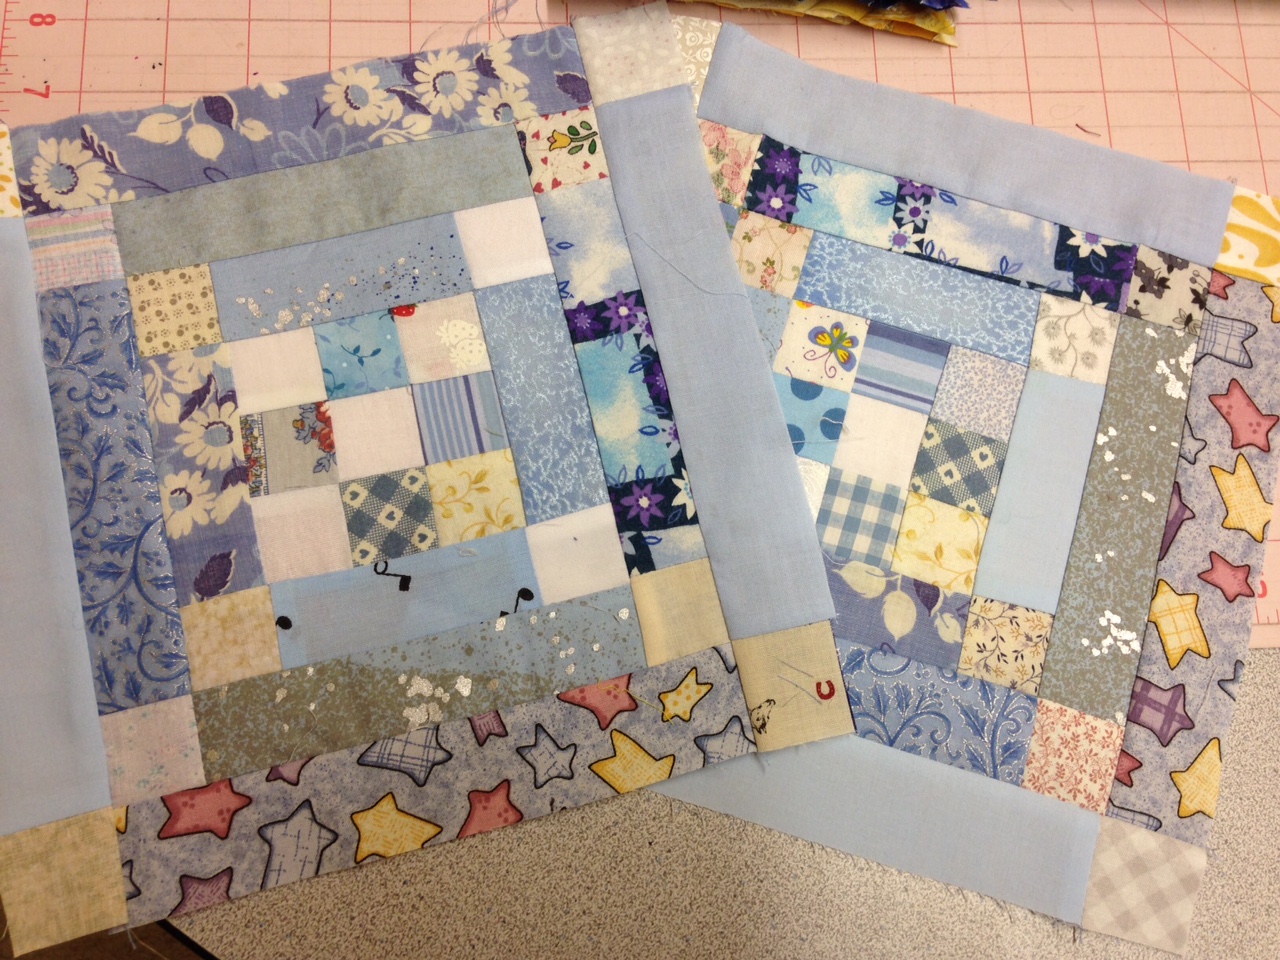
Angela's Rainbow Scrap Challenge (RSC) color for June (light blue) was first on my agenda.  Andee and I are teaming up this year, each creating an alternate block that will play nicely with each other.  Take a look at her blue block.  We are both very excited about this quilt coming together at the end of the year.

Then, I tackled getting caught up on all the colors so far this year;  I only had purple left to do.  I perceived myself being further behind than that.... hm!   AND, I'm ahead of the ballgame, having done some red blocks back in January.  How's that for ambition?!

Once done with the alternating block, I tidied up the cutting mat, taming scraps as I went.  Rather than tucking some of the scraps off into their drawer hiding places, they were sewn up into some Scrappy Talkin' Turkey block centers. 
Once these eight are finished, I'll have 16 blocks up on the design wall.  As most projects in the past year or so, I have no plans other than...."let's make another block.  And another.  And another?"  When I get tired of making them, they (usually?) get pieced into a quilt center and set aside for a time when border inspiration hits me.  (THAT's not very often though) :(

Now.... perhaps some crochet.
Happy Saturday!

Thursday, January 1, 2015

"Always Time" quilt top and Taming of the Scraps

Always Time (79 x 103)
Always Time has come together with some dedicated time over Thanksgiving vacation, a couple of weekends and some time during this Christmas vacation.  The blocks are larger, therefore it has been a decently quick quilt top to piece.

Many of the fabrics are from the "Twilight Frost" line that was discontinued to Connecting Threads a couple of years ago.  The pattern is the Rambling Aunt Sukey design from Marti Mitchell (published in the from Jan/Feb '08 Quiltmaker magazine).  

Like many, many others;  it has been folded and added to my ever-growing--never-shrinking pile of quilt tops ready for quilting.

The 2014 Rainbow Scrap Challenge was wrapped up with a final gray block in order to round out the year with twelve blocks :)    
Naturally, it would be right for me to pass up a year of the Rainbow Scrap Challenge, so.... I'm in for 2015 too!  I don't really have a solid plan in mind (yet), despite spending countless hours last night and this morning searching the net for that perfect idea.

Although, this morning, with my new rotary cutter in-hand, I started trimming up numerous bonus-HSTs in blue (January's color), trimming them to 2".

With a few hours of "Avengers" and "Avengers" in the DVD player, (yup...when it ended, I simply pushed 'Play' again),  I added four scrappy star blocks to four block I had pieced last year during Judy's Scrap Challenge for January.  (All pictured lower left).
Yesterday was a day well spent trying to tame all (some?  a few?) of the scraps I had scattered around the sewing room.  All the while, sew-skyping with buddy Nancy.  It was the first day in a LONG time that I felt my quilting mojo had come back.  It truly felt good using up SOME of the scraps, even through, TRULY, barely a dent was made!!!!
The OMIGOSH blocks (upper left) have been an on-n-off Leader-Ender project of mine for the past couple of years.  The scrappy Talkin' Turkey blocks (upper right) are a Bonnie-design, these done in scrappy though :)

Although I'd love to keep my quilting mojo flowing, I don't know if I want to head back downstairs since I've spent the past couple of hours upstairs, cleaning and decluttering the kitchen and laundry/entryway room.

Maybe some more Gibbs (NCIS marathon on USA) and my crochet hook ?? ;)

Happy New Years everyone!

Friday, January 17, 2014

Block drafting 101

I've said it before, and I'll say it again...
Once 5:00 PM hits on a Friday night, my math brain shuts off for the weekend!!!
LOL

Two hours ago, I set out to help buddy Andee.  Task:  draft a 9" Talkin' Turkey block. (pic from Andee's post last night).  Using the picture of her block, I set out with the basic drafting tools in-hand... pencil, paper and ruler.
Drafting a block in a different size starts by drawing a life-size version of the block, for me anyway.  I don't always draw, BUT I certainly do when the overall fundamental block breakdown doesn't work mathematically nicely with the finished size of the block.  Meaning:  I see this block as an 8x8 unit breakdown;  but the finished block needs to be 9".  That's 9 ÷ 8 = 1 1/8" finished sections.  
Therefore, it's a good thing for me that my daughters have some drawing tablets that are 9"x12"!  

NOW, before I get going too far......If you enlarge the picture to see my hand-written cutting measurements.....  STOP.  
LOL.  I had a brain-fart.....
and it didn't hit me what I had done until I went through allllllll of this......

And then, when I pressed the string red units......
**scratchin' head**

My string blocks match up nicely to the drafted drawing, but.....my 1/4" seam for the bordering unit was NEVER going to meet the point(s) of intersection between the 9-patch and the red strings....

I looked over all measurements, and I was simply ..... confused!
Why oh why is the 9-patch not workin'?!?!?!  It's too small!

When I grabbed my ruler to measure the 9-block finished squares in my drawn version.....SURE SHOOTIN'!  They measure 1 9/16". {{yeah, icky measurements to quilters accustomed to measurements in quarters and eighths}}
BUT, when I measured the finished 9-block squares, they were measuring about 1 5/16" ...
And then it hit me!!!!!!!!

Good golly!  HOW long have I been quilting?!?!?
Once I had the finished measurements determined from the life-size block draft, I added ONE-QUARTER inch to the finished size of the squares instead of ONE-HALF inch!!!

**forehead slap**
The red string blocks are right on the money, but I'll need to rip-rip-rip in order to recreate the 9-patch.

So, Andee..... I don't have the test block to show you yet, but, I'm PRETTY POSITIVE on these measurements now ;)

String blocks
Cut TWO foundation squares to 5" and piece the strings (I use paper).
Once pieced, square up to 4 3/8".

Cut in half against the diagonal.  Yield:  4 HST strings.

9-patch
REMEMBER:  This picture shows the WRONG SIZE 9-patch!
Each square of the 9-patch unit needs to be cut at 2 1/16".  I suppose you could cut to 2 1/8" if you use a SLIGHTLY larger (thread-width?) seam allowance.  DO NOT cut at 1 13/16"  LOL;  that'll end up being 1/4" too small!

Flying Geese
Cut 8 backgrounds rectangles:  1 5/8" x 2 3/4"
Cut 16 colored squares: 1 5/8" x 1 5/8"
Sew using the corner-to-corner flip-n-stitch method.

Other bordering pieces
You'll need 4 more background rectangles 1 5/8" x 2 3/4" for the border centers
and four (4) 1 5/8" x 1 5/8" background squares for the corners.

I'll try another one on Sunday;  I'm booked solid tomorrow with Basketball tournaments: 7AM - 8 PM! Holy buckets!

Happy Saturday.

And remember the quilter's drafting rule:  ADD A HALF!!!! {{NOT Add a quarter!}} 
:p